
Your Workflows Can Now Create Images For You, One Per Contact If You Want
Up to now, if you wanted an image in a workflow, you had to make it yourself first and upload it. Your automation could only pass along something you'd already created.
That's changed. There's a new action that generates an image for you, right inside the workflow, from a prompt you write. It creates the image, stores it, and hands back a link you can use in every action that follows.
What landed
The new action is called AI Image Generation, and you'll find it under AI Actions when you build a workflow. You give it a prompt, it produces an image, saves it to your Media Storage, and returns an Image URL you can drop into the next steps.
Because the prompt can pull from your data, one workflow can make a different image for every contact. Think a mockup with each customer's name on it, or a fresh image for every row in a Google Sheet.
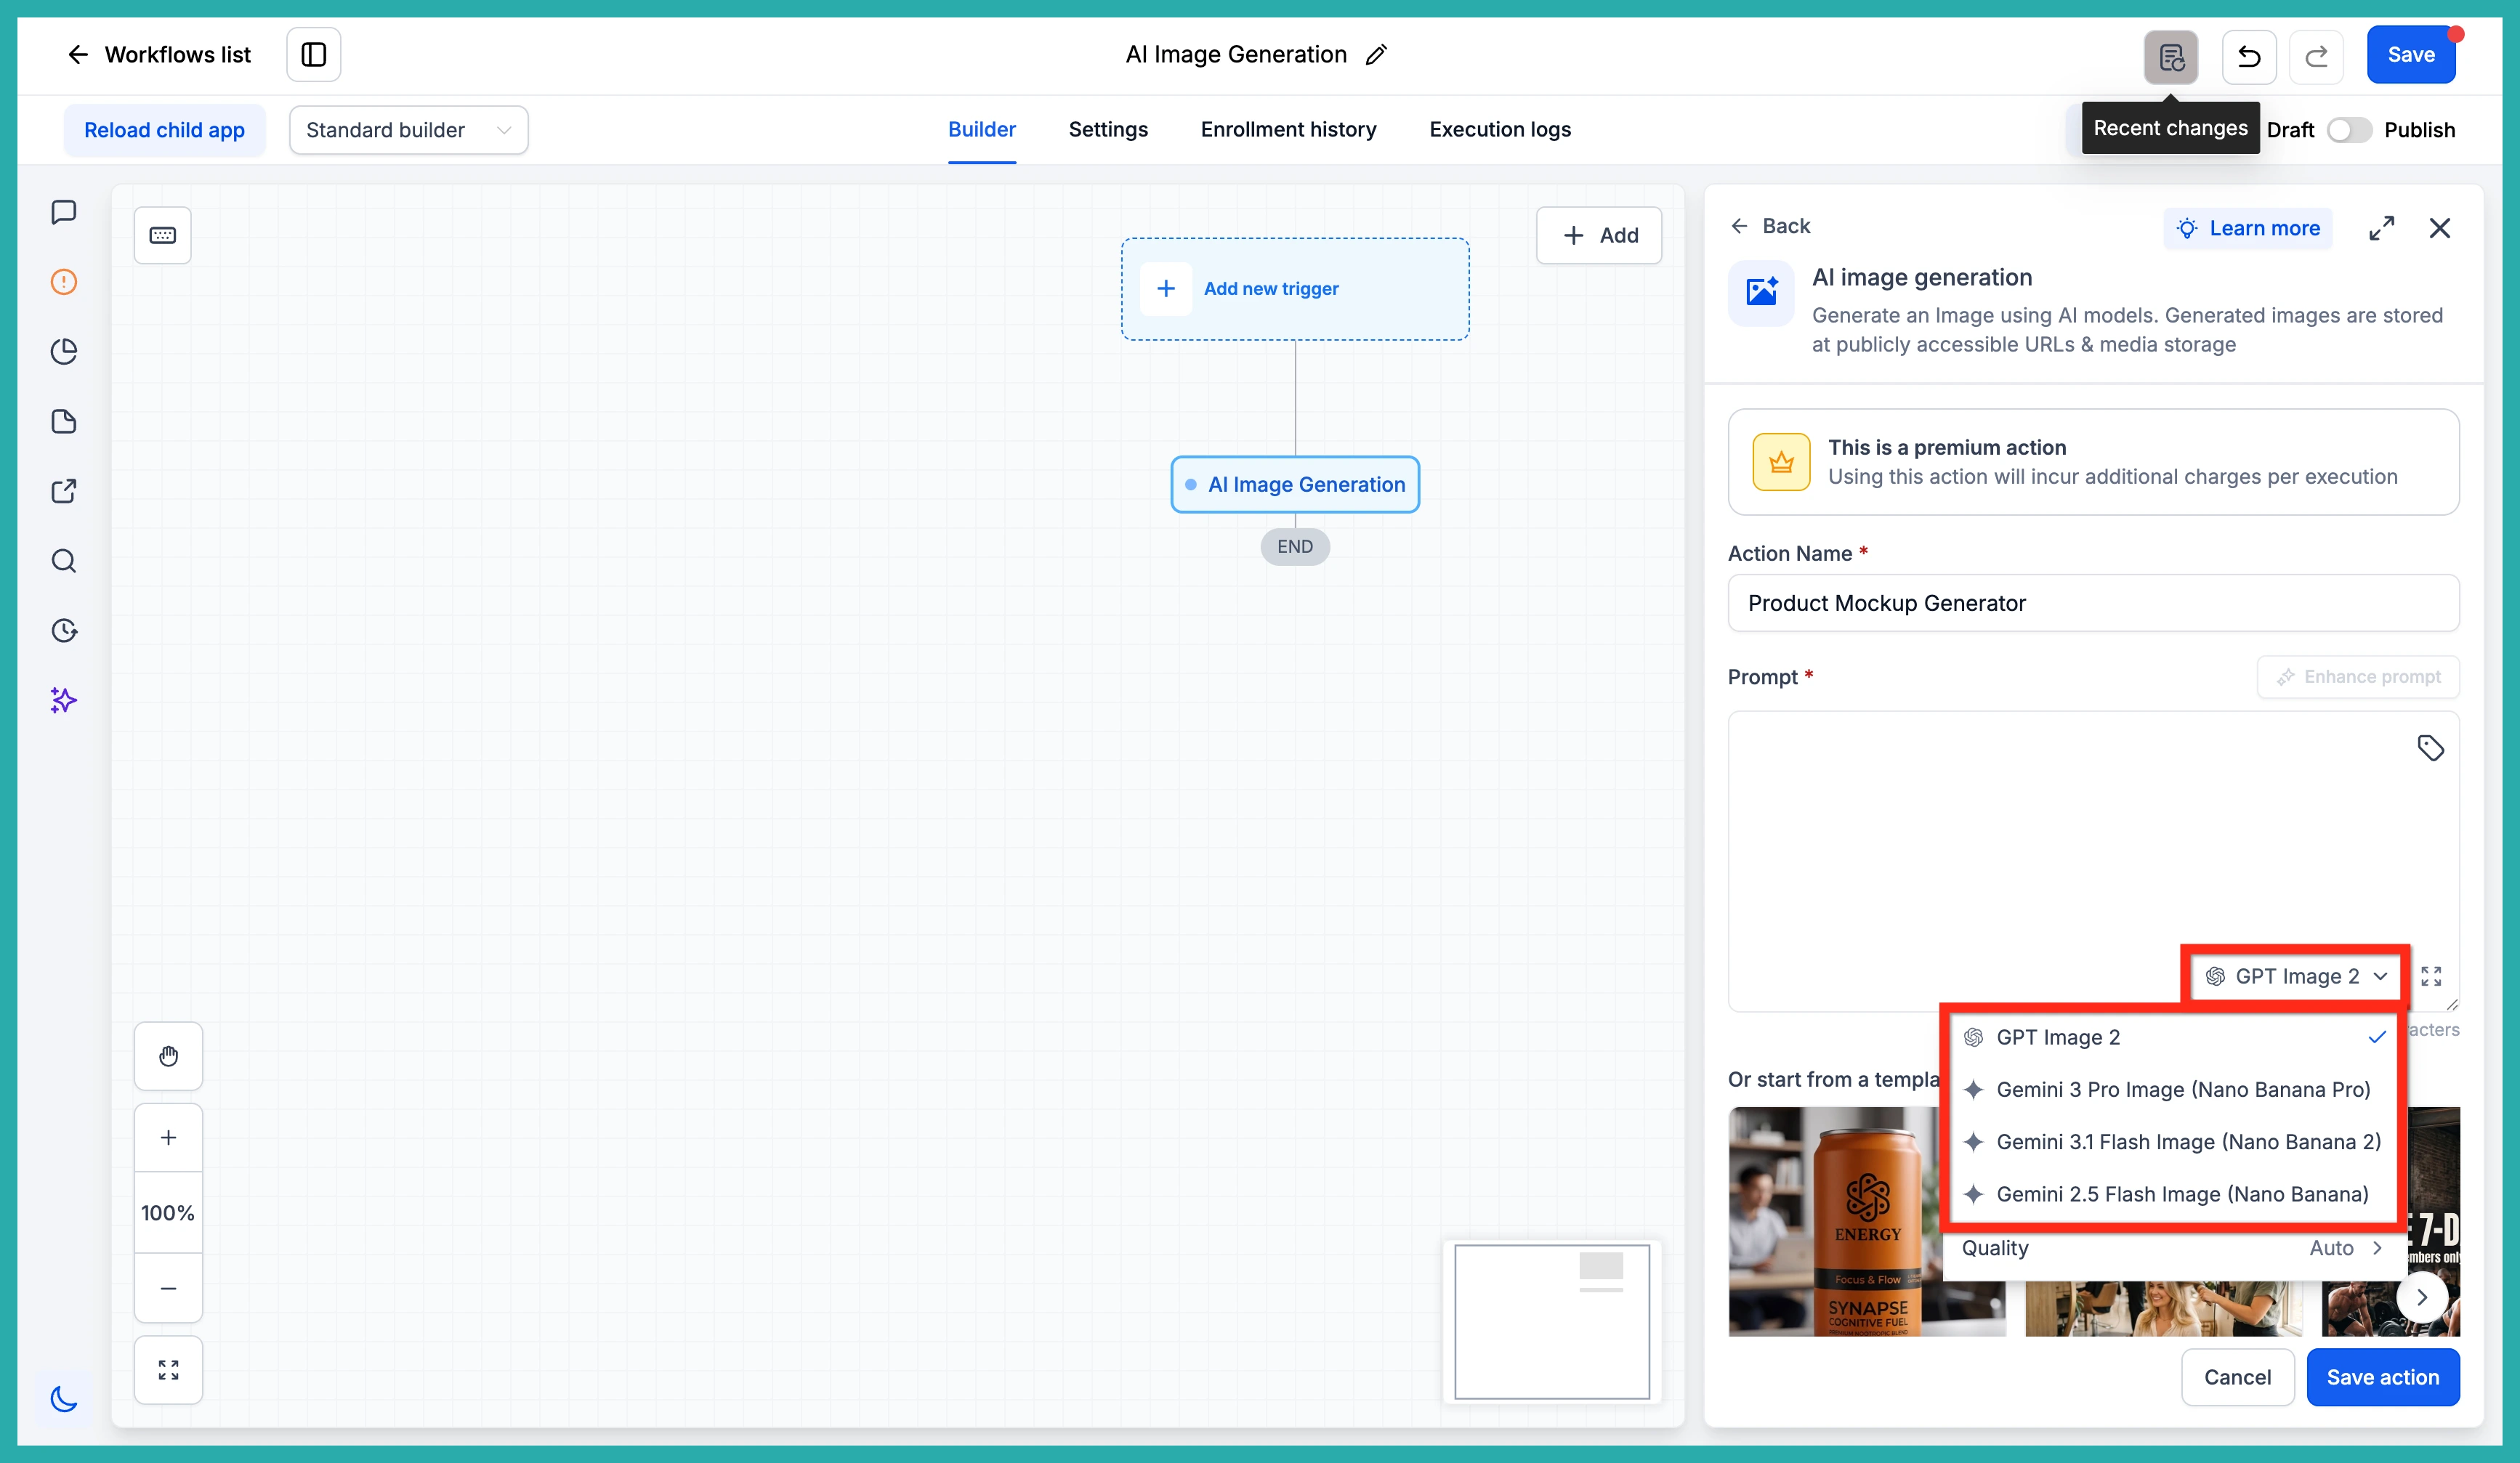
One honest note up front: this is a premium action, so each run carries a small extra charge. Your cost depends on the model, the quality, and the size you choose, so treat any figure you see as a planning estimate rather than a fixed price.
Adding the action
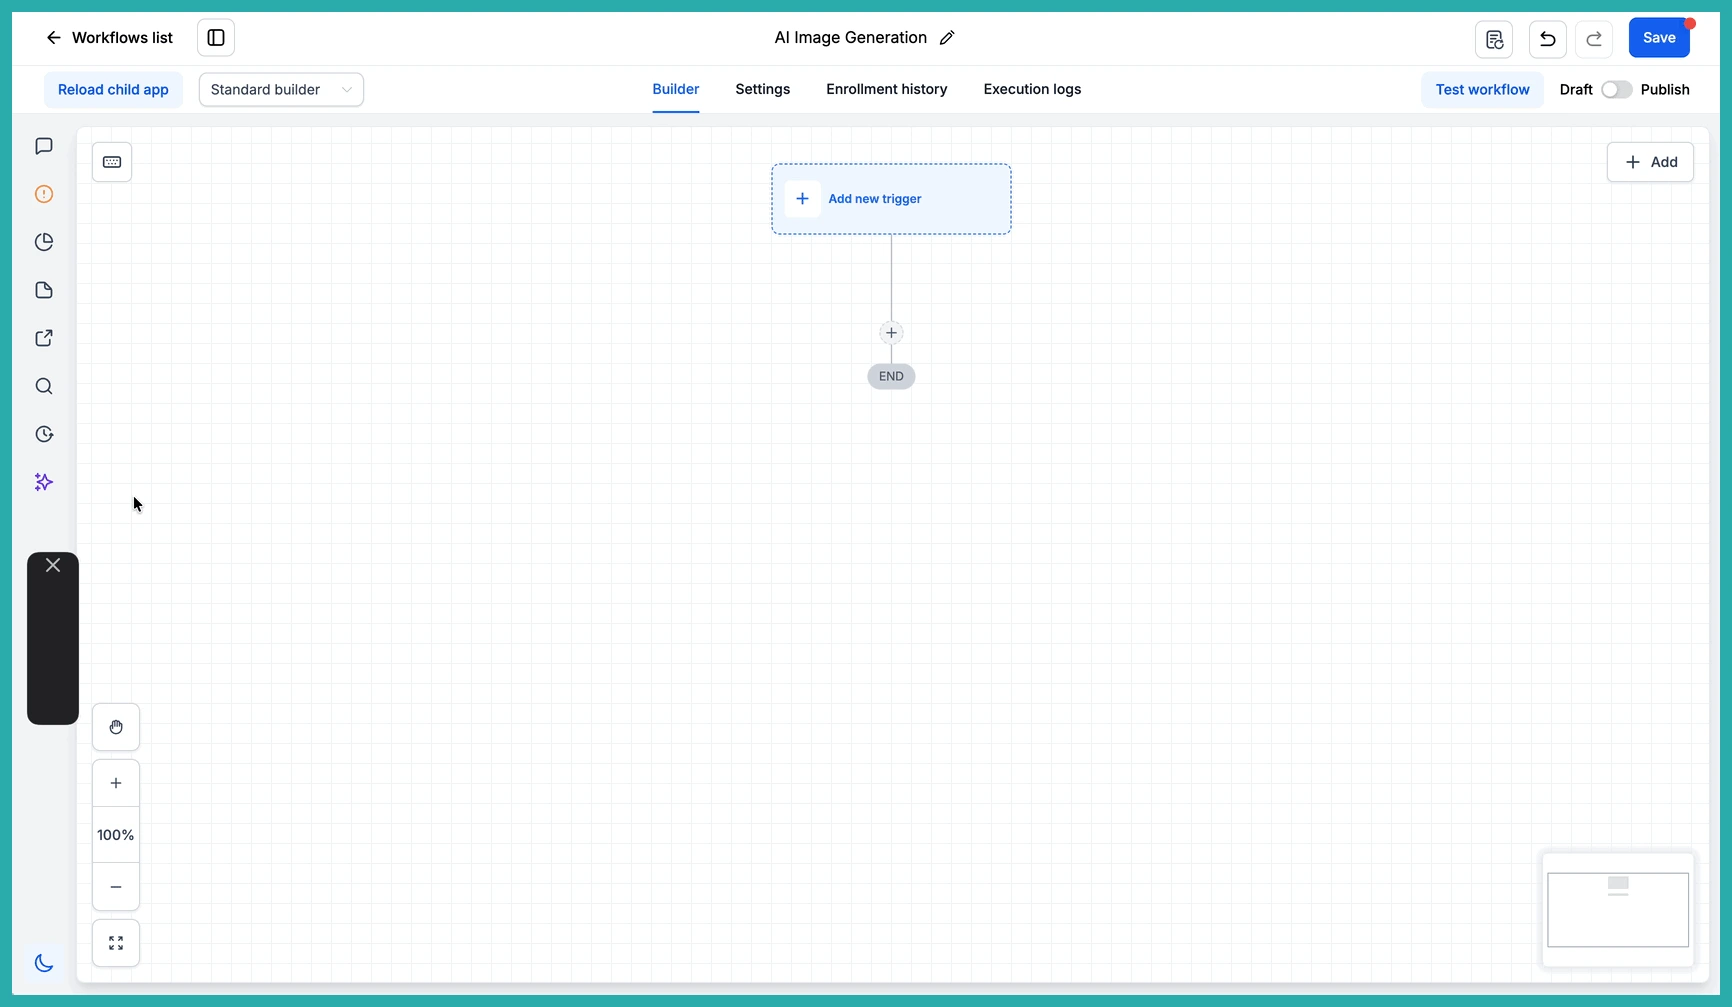
Go to Automation, then Workflows, and open the workflow you want to work in. Add a new action and choose AI Image Generation from the AI Actions group.
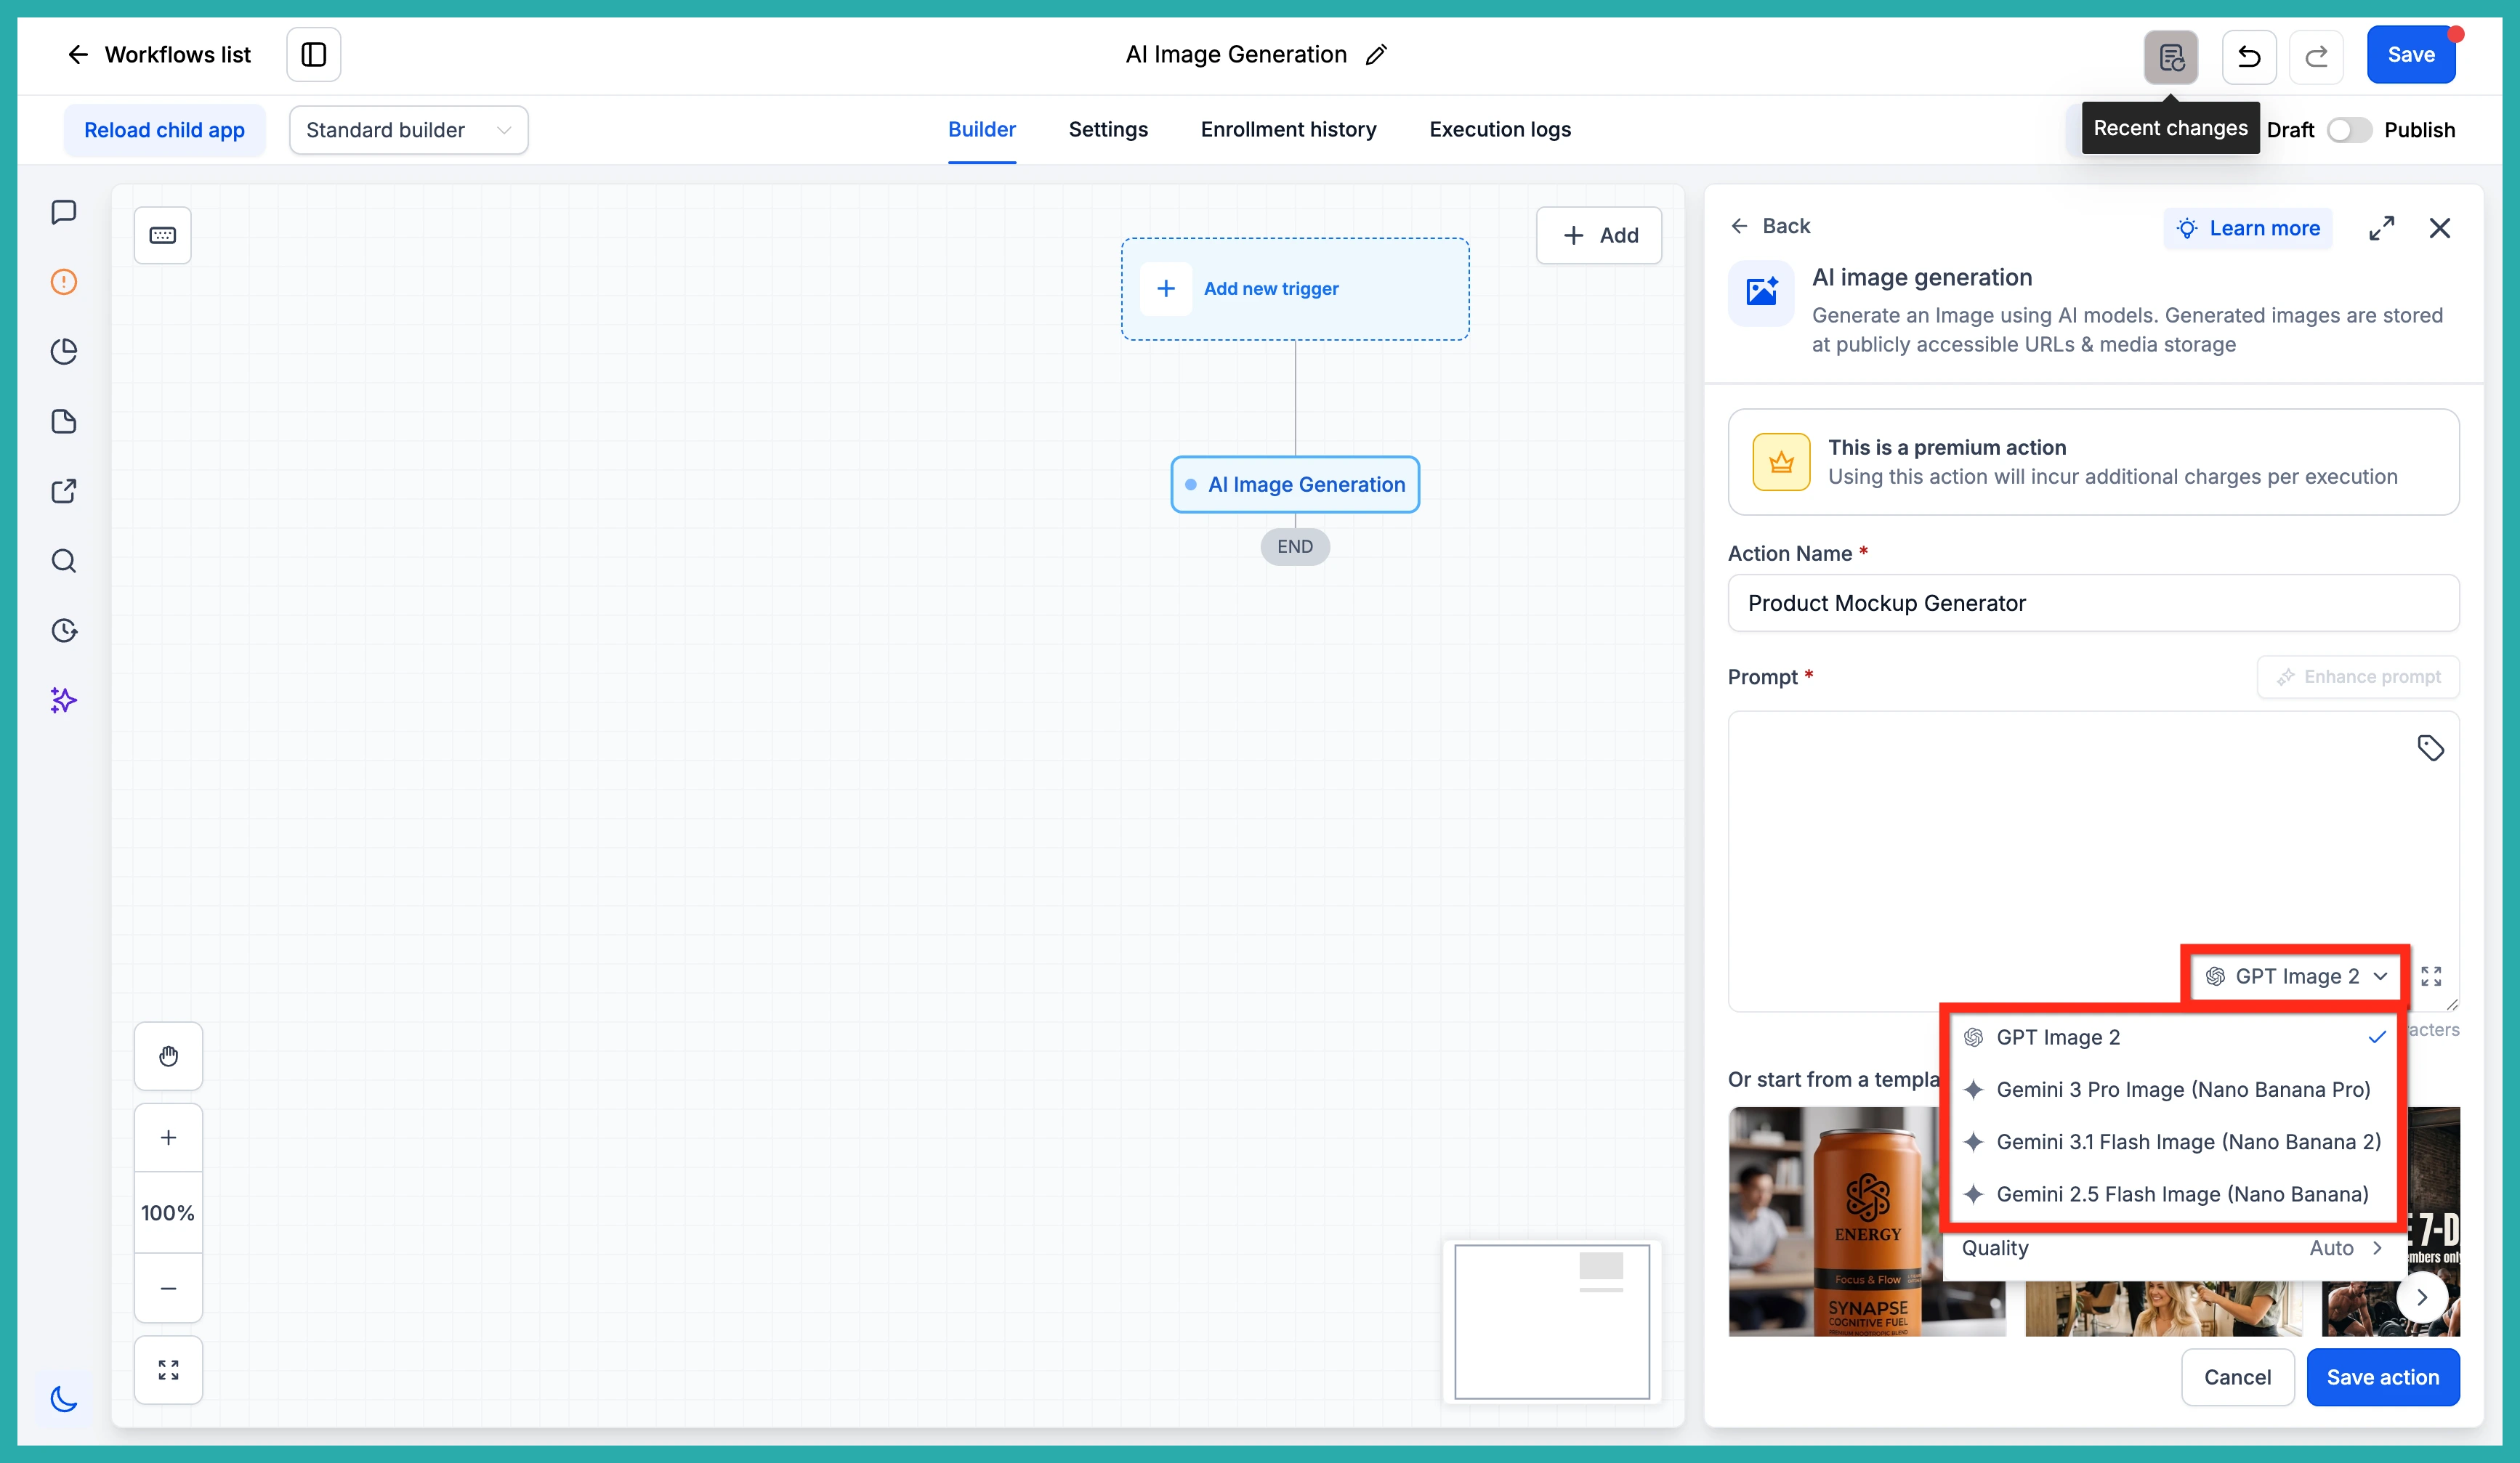
Once it's in, you'll see the setup panel where everything happens.
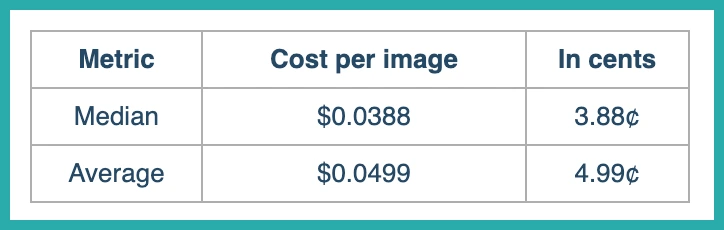
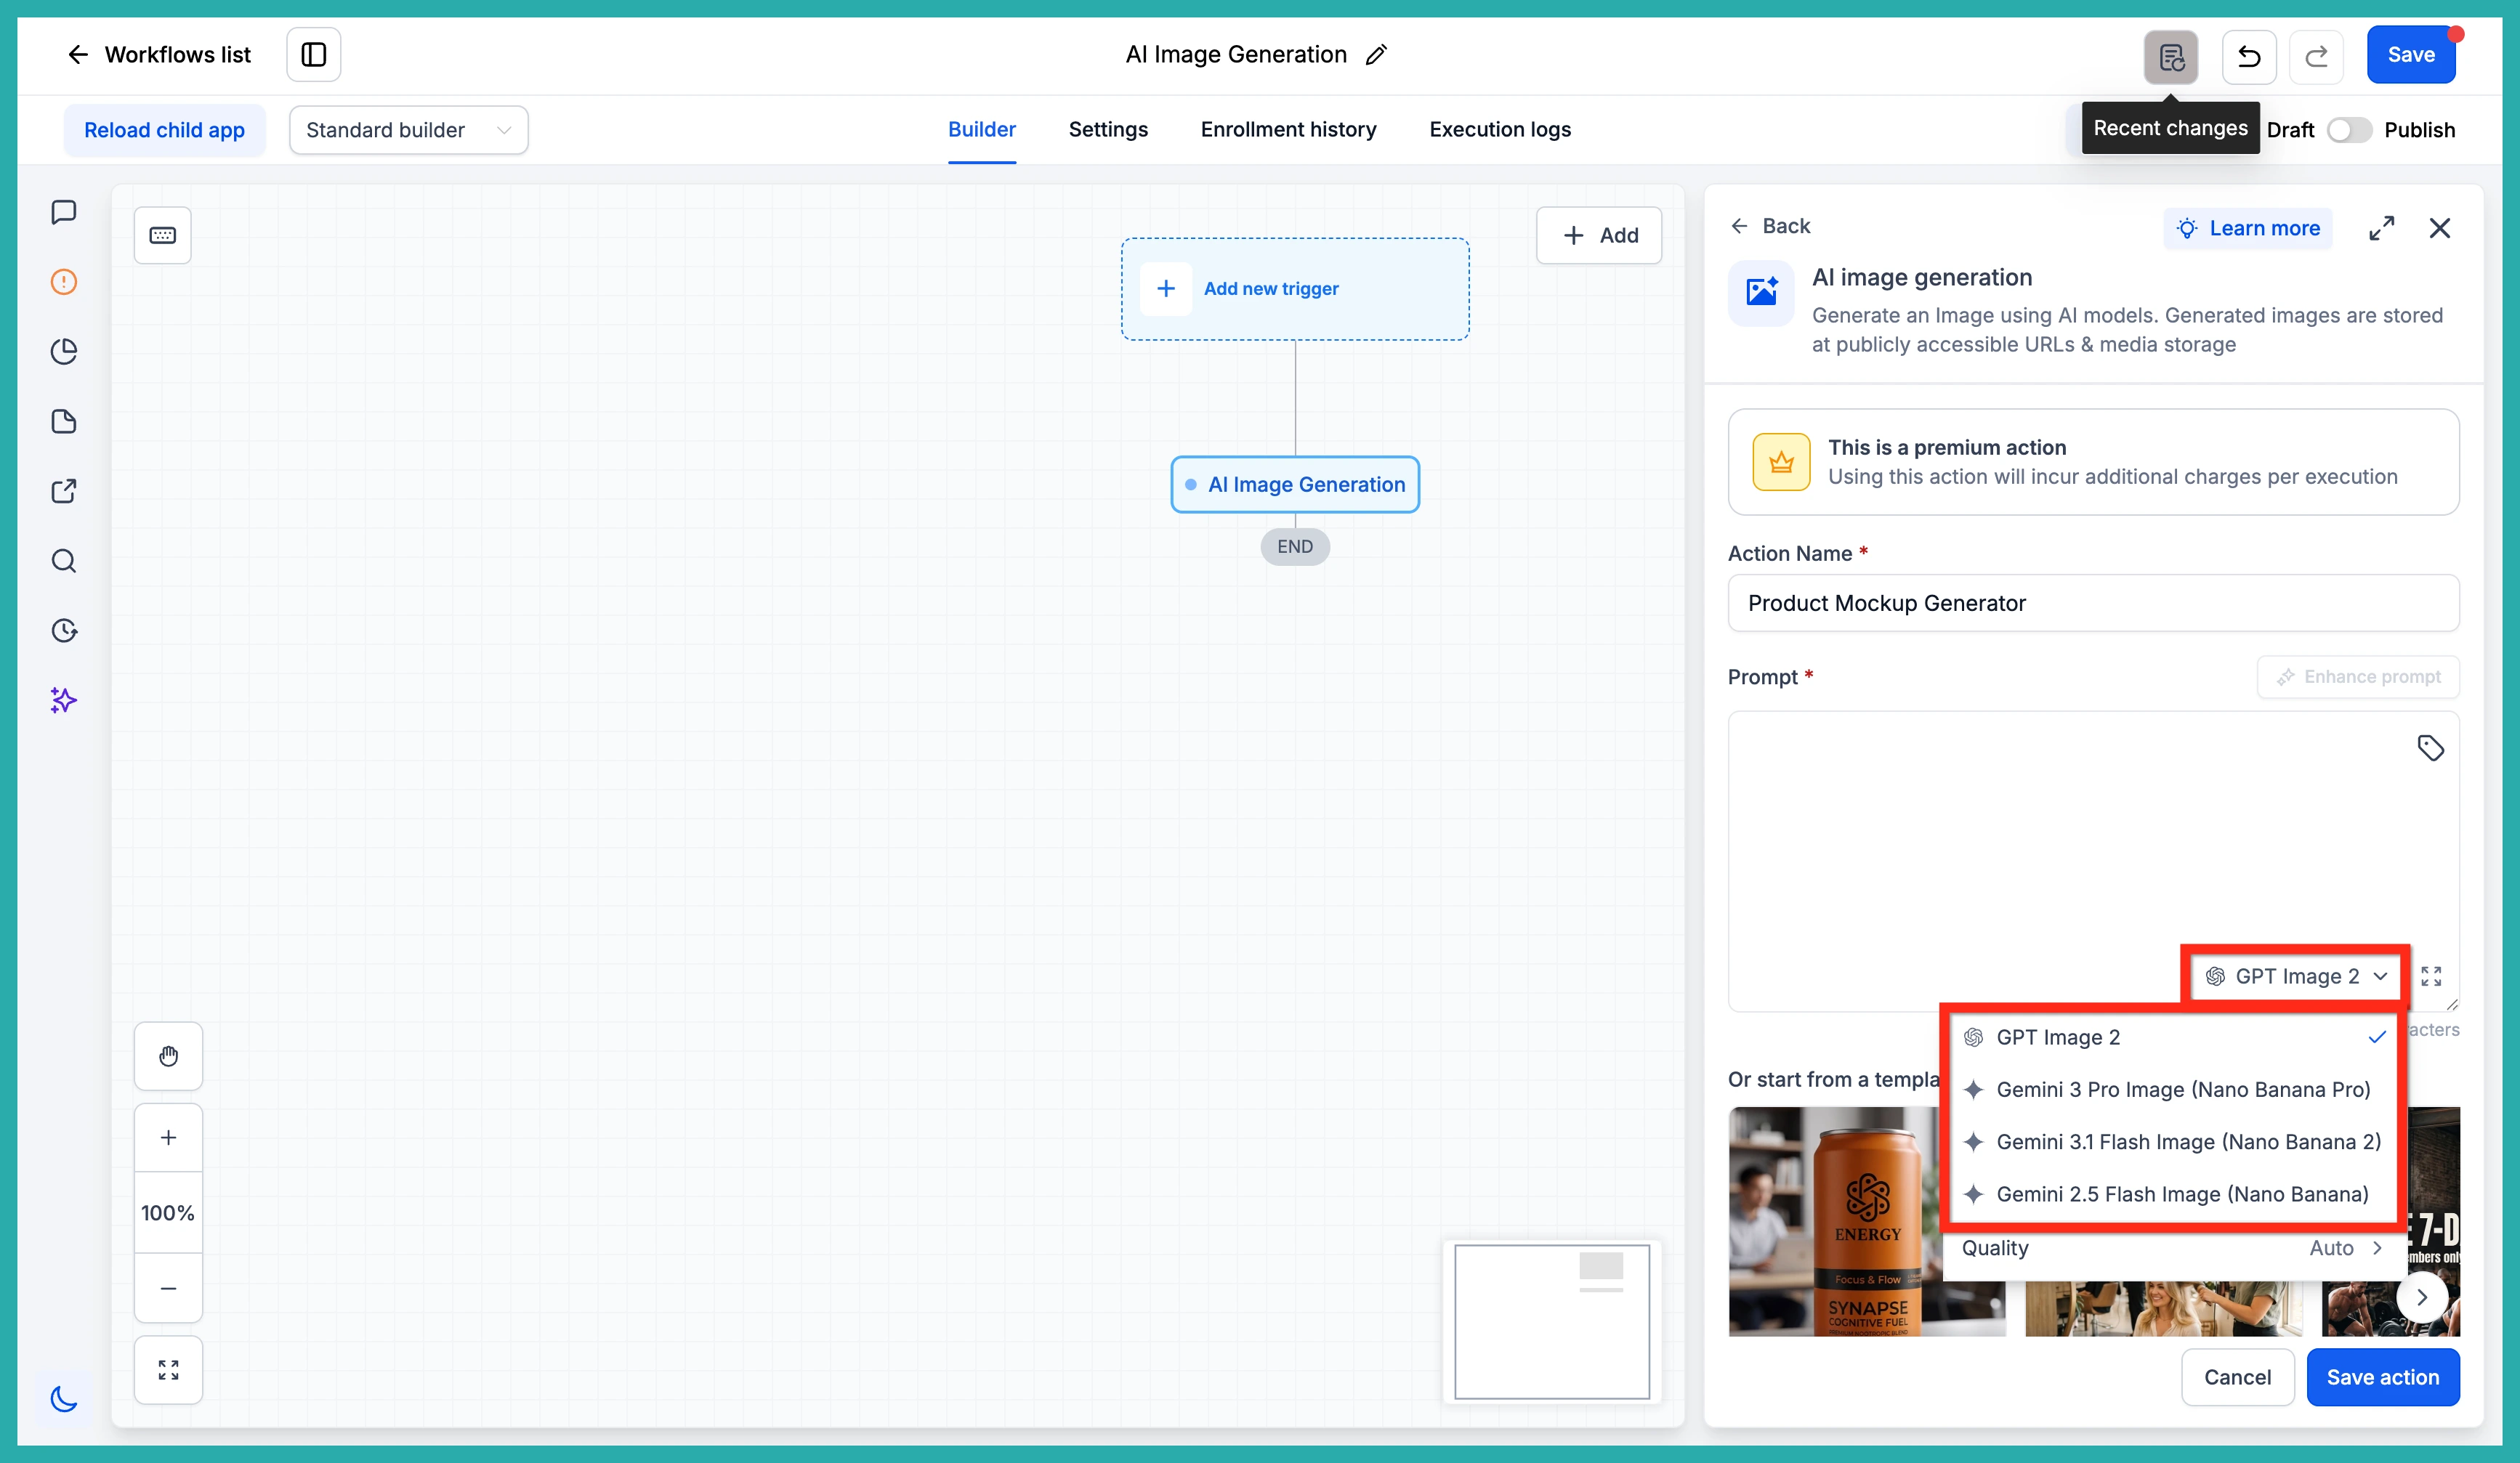
Pick your model and quality
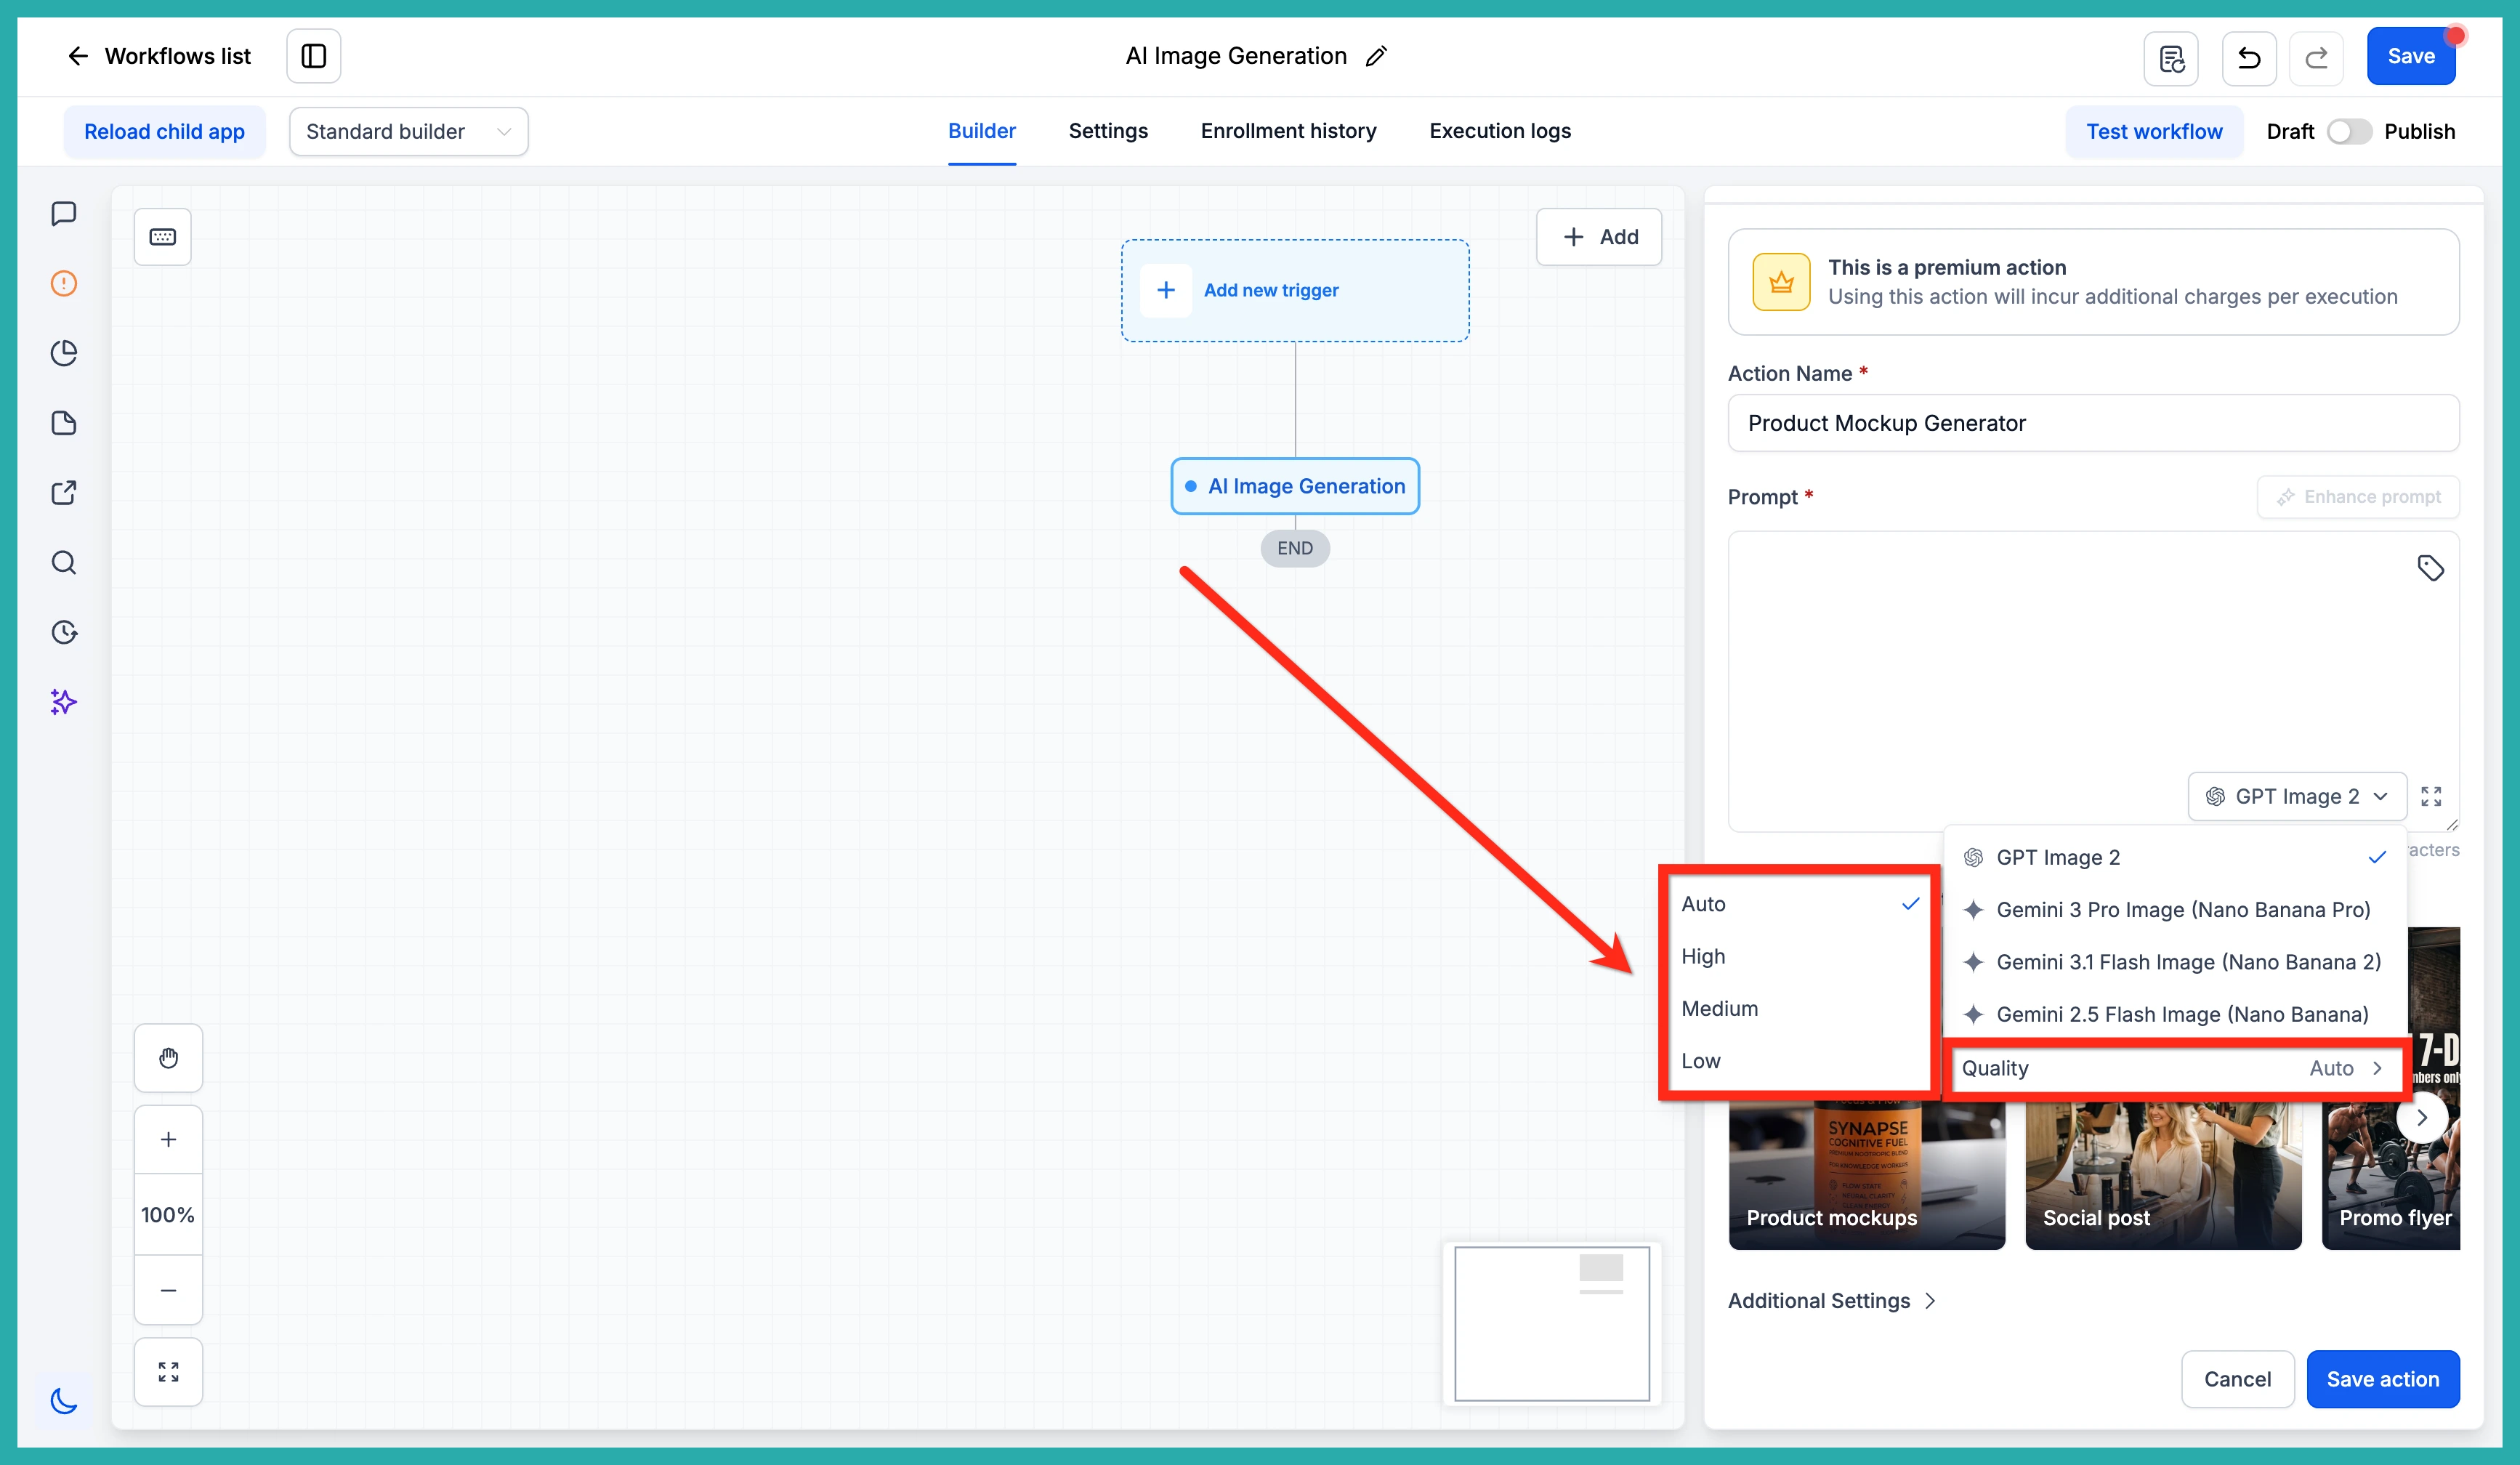
You've got four models to choose from. Pick the one that suits what you're making, then set the quality. It defaults to Auto, which is a sensible starting point, but you can move it to High, Medium, or Low depending on your needs and your budget.
Write your prompt
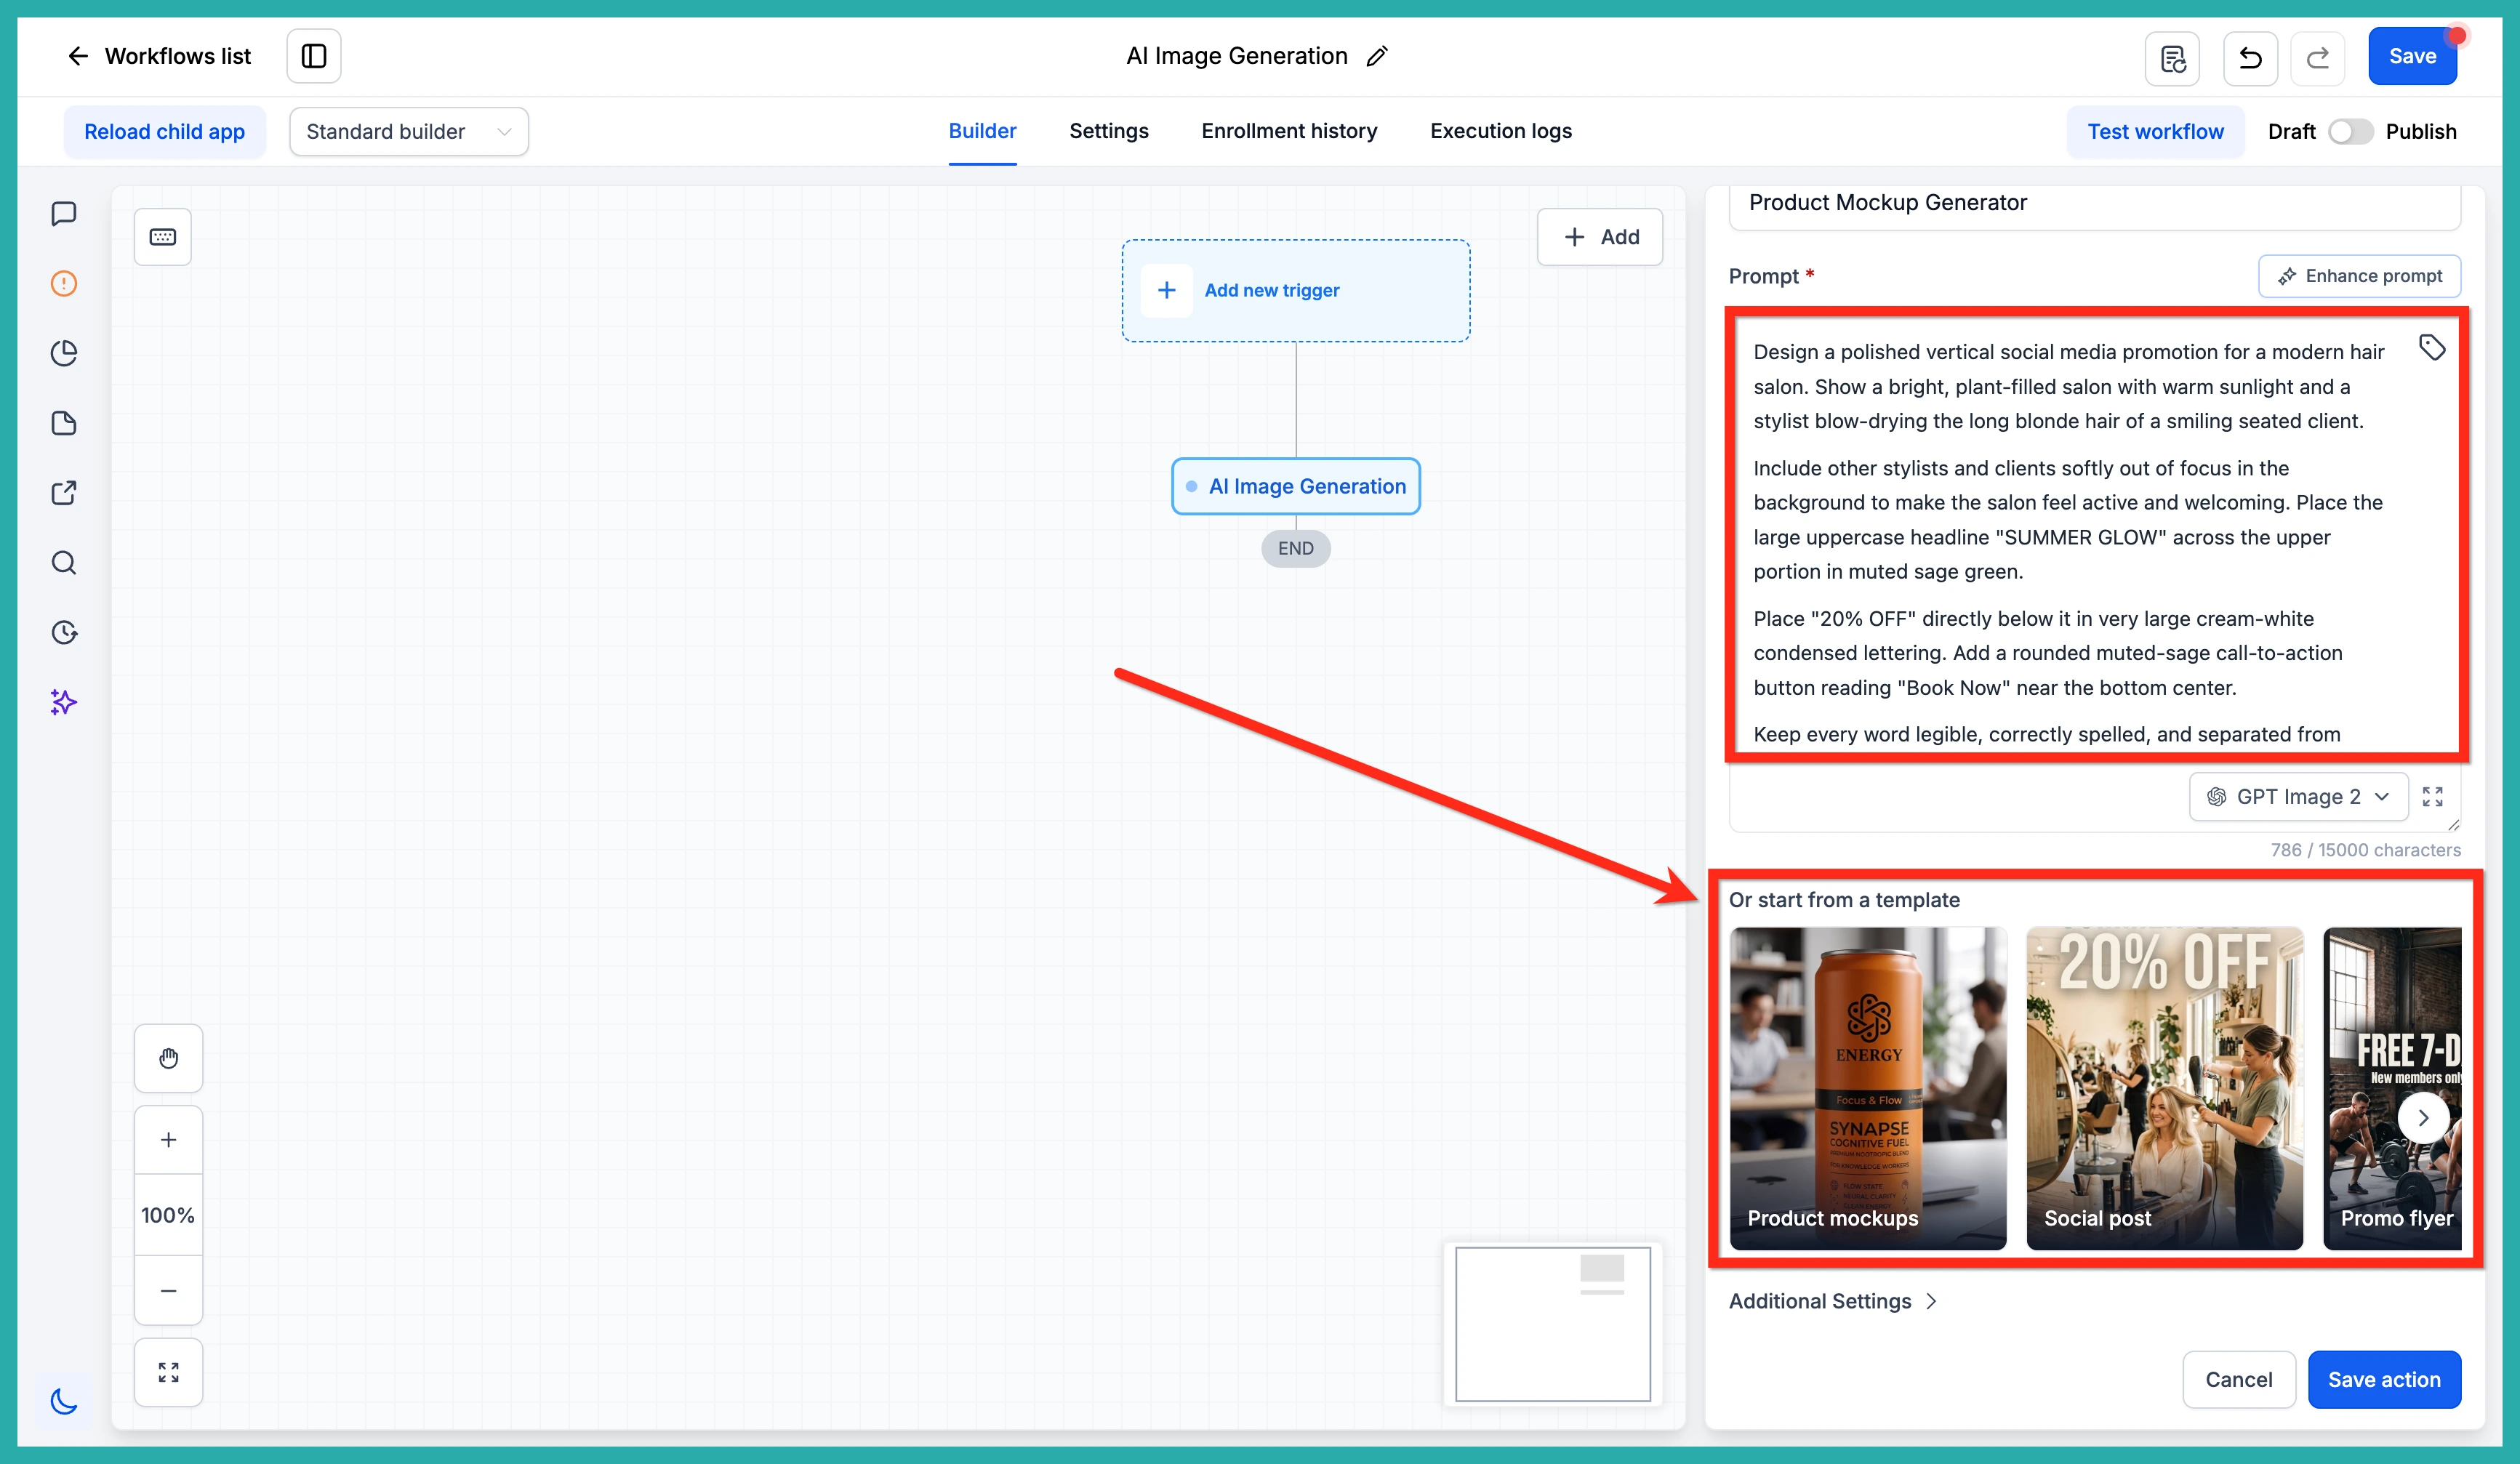
Now tell it what to make. You can type the prompt straight in, or insert a custom value so the prompt comes from your data at run time - a contact field, a webhook payload, or something an earlier action produced.
If your prompt feels a bit thin, click Enhance Prompt. It expands a short line into a fuller, more detailed one for you.
Prefer a head start? Begin from a template instead. There are ready-made options for Product Mockups, Social Post, Promo Flyer, and Lifestyle images.
Fine-tune the output
Open Additional Settings if you want more control. Here you can set the size, the background, and the file format, and apply your Design Kit and Brand Voice so the image looks like it belongs to your business. This step is optional, so skip it if the defaults are fine.
When you're happy, save the action.
Using the image afterwards
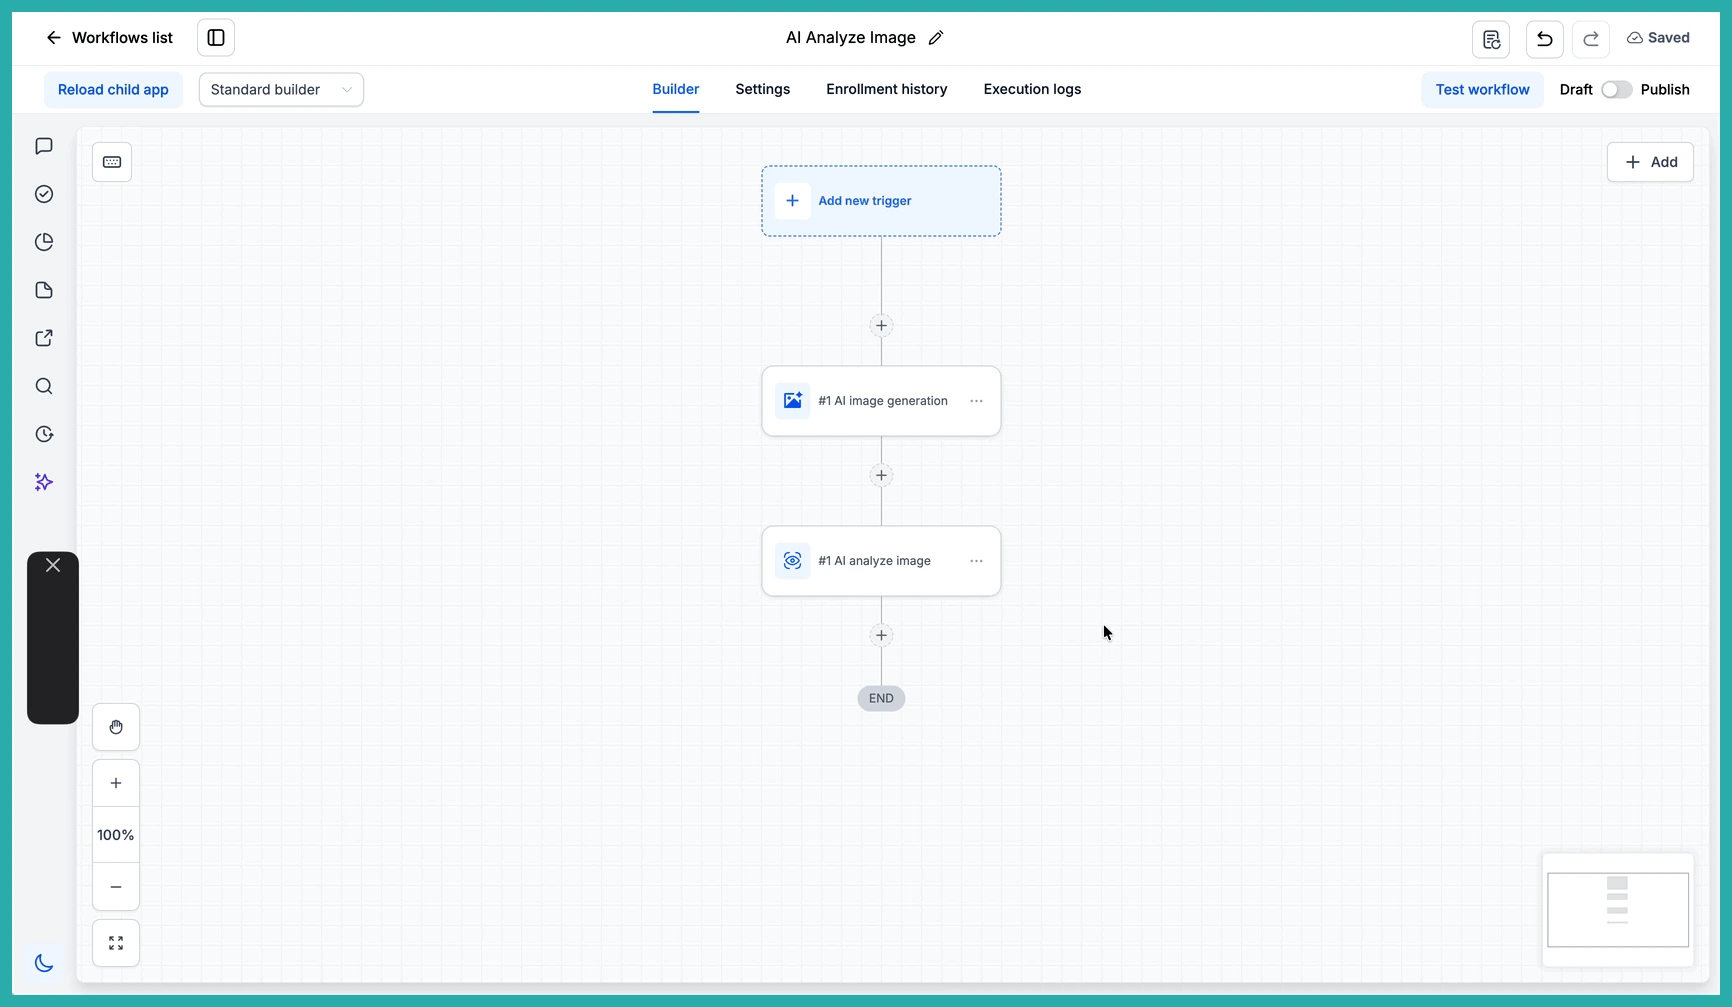
Every image gets stored automatically and comes back as an Image URL variable. From there it's yours to use however you like - attach it to an email or SMS, publish it to a social post, save it to a custom field, or pass it to a webhook.
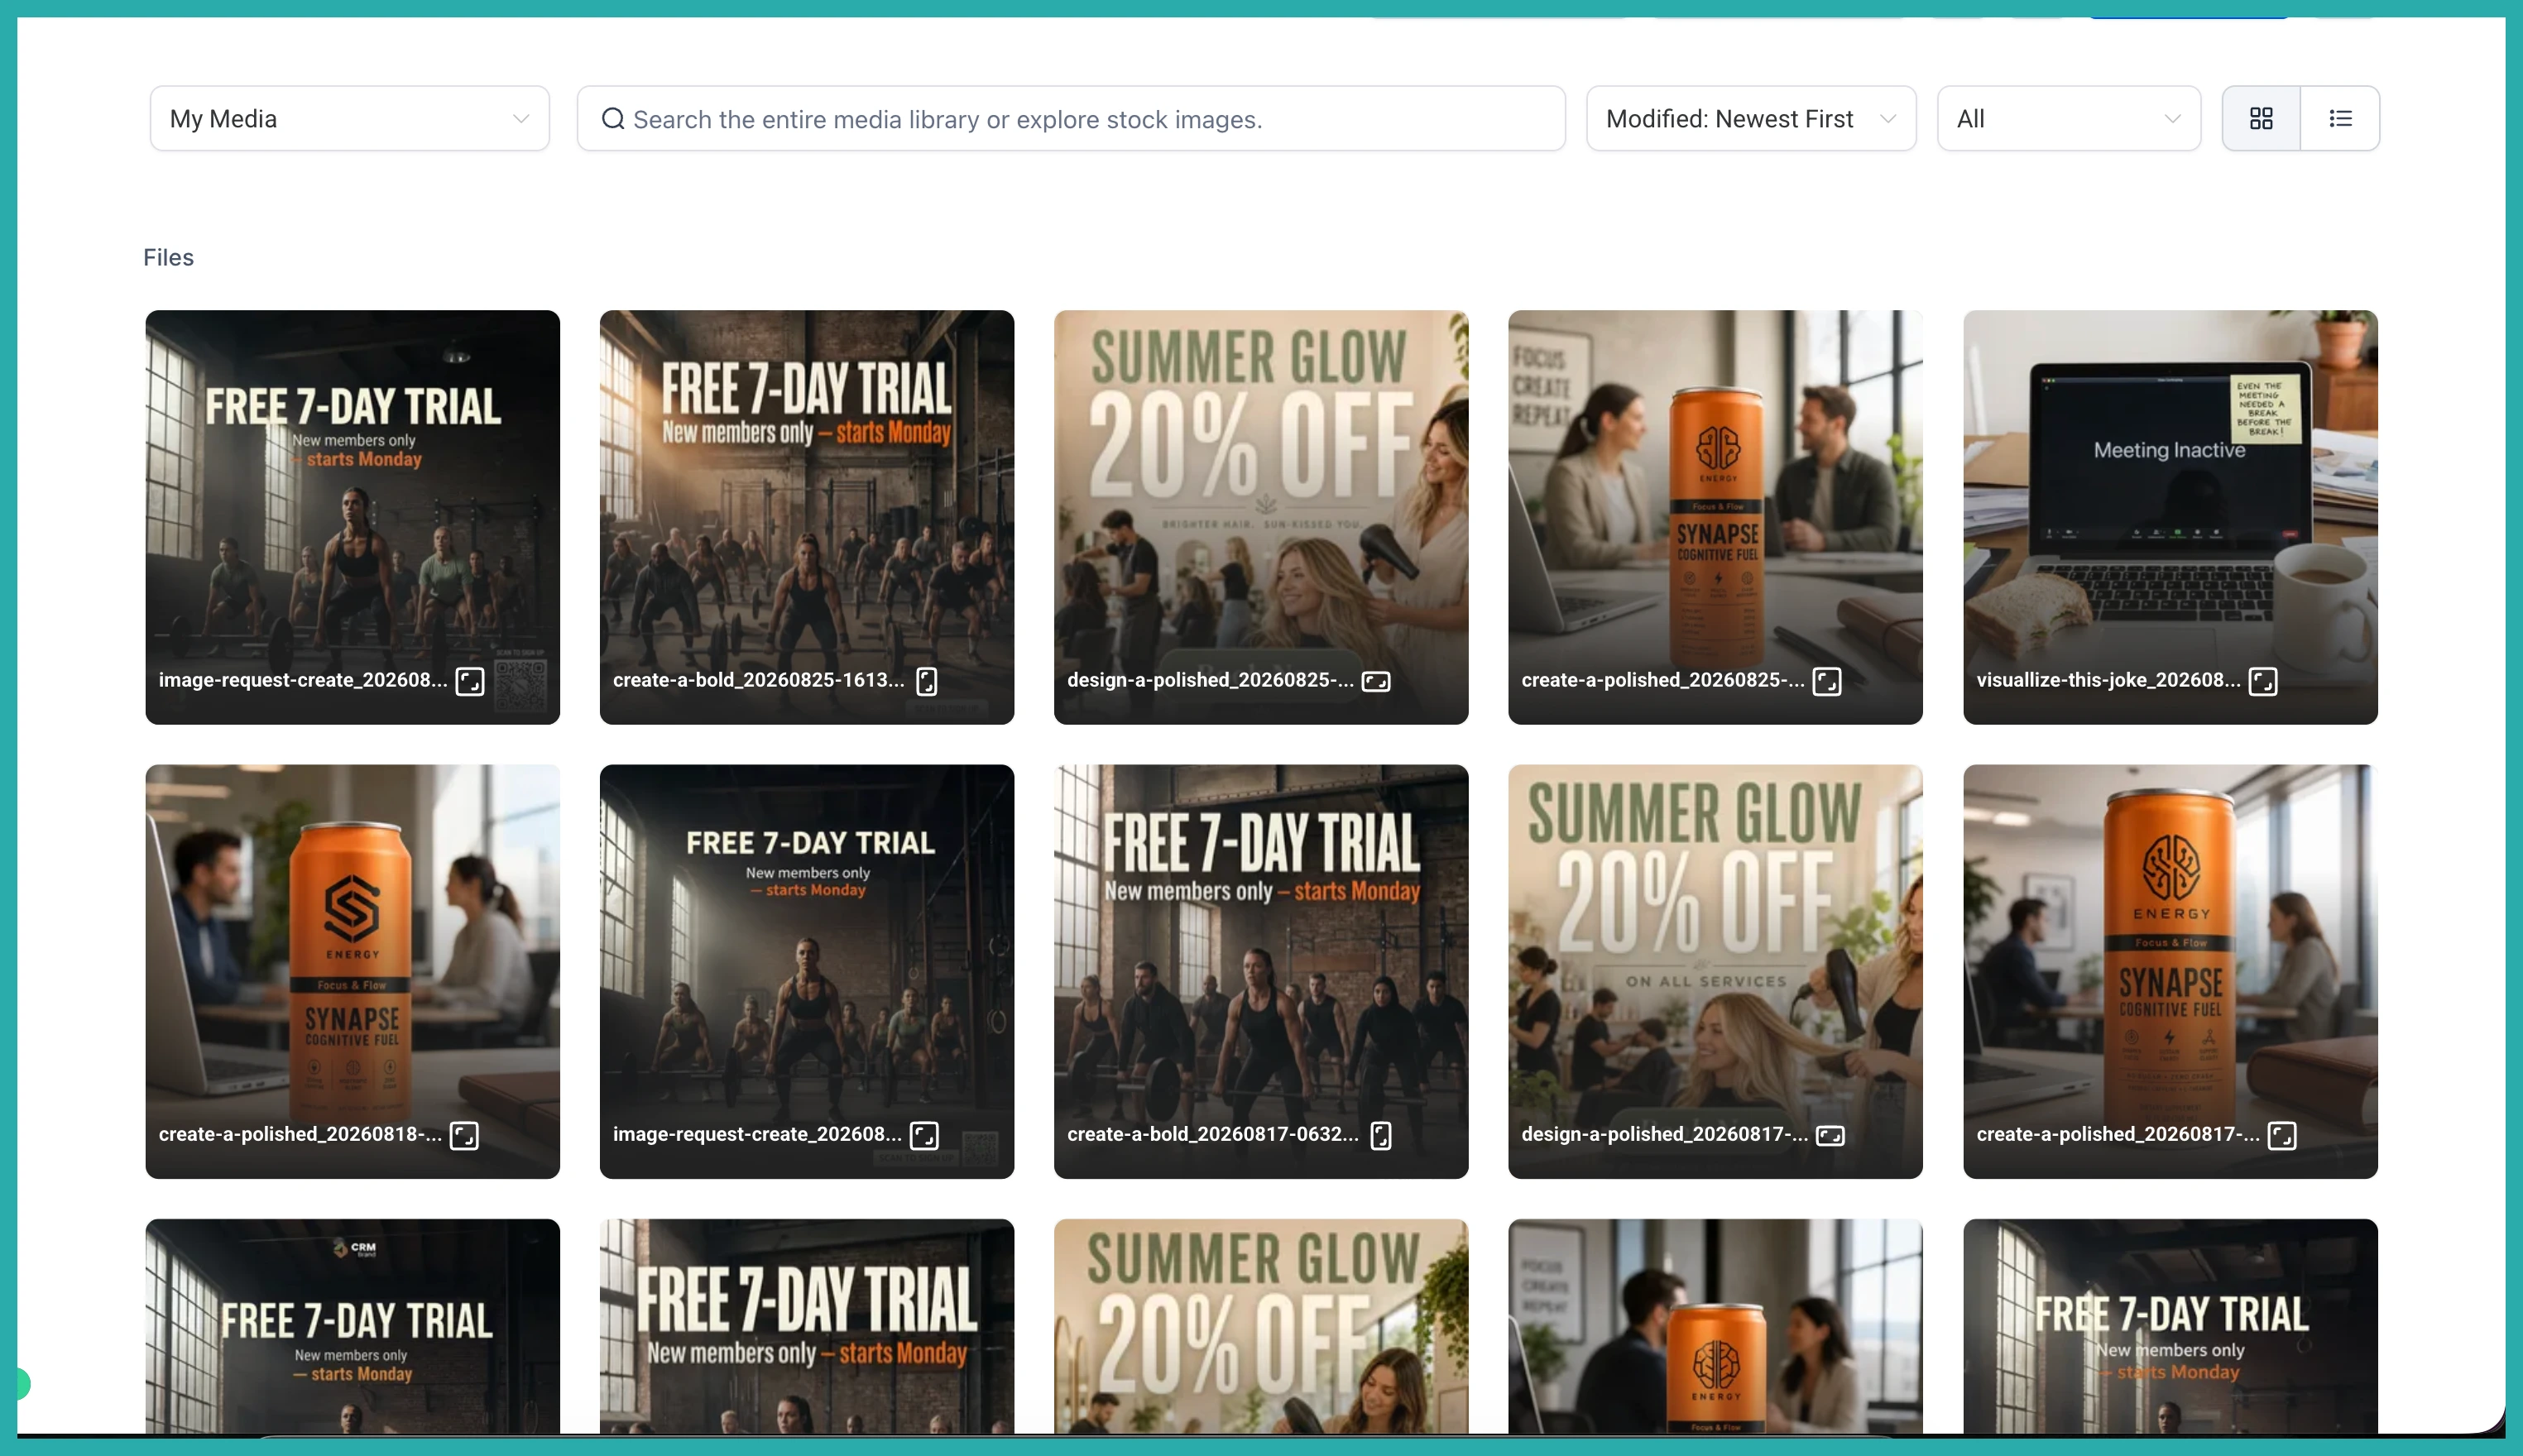
One thing to keep in mind: the image sits at a public URL, so anyone with the link can open it without logging in. Bear that in mind if your prompt pulls in customer data.
Have a play with a simple prompt first to see what it produces, then build it into a workflow once you know the look you want. It only takes a few minutes to try.
